Hand dyeing alligator skin
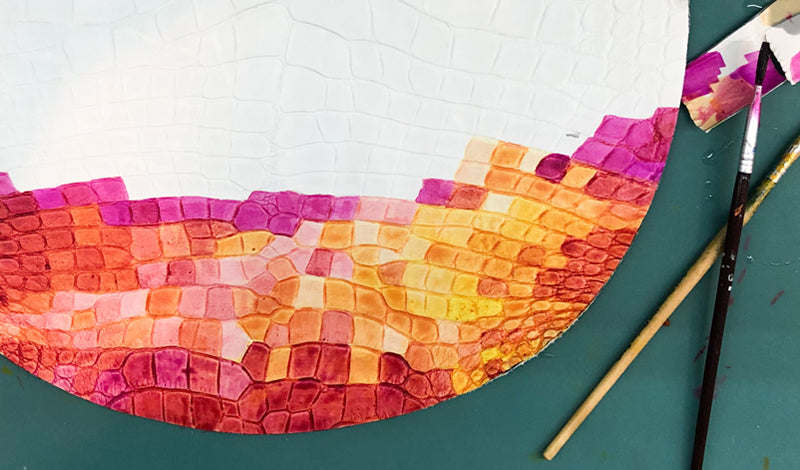
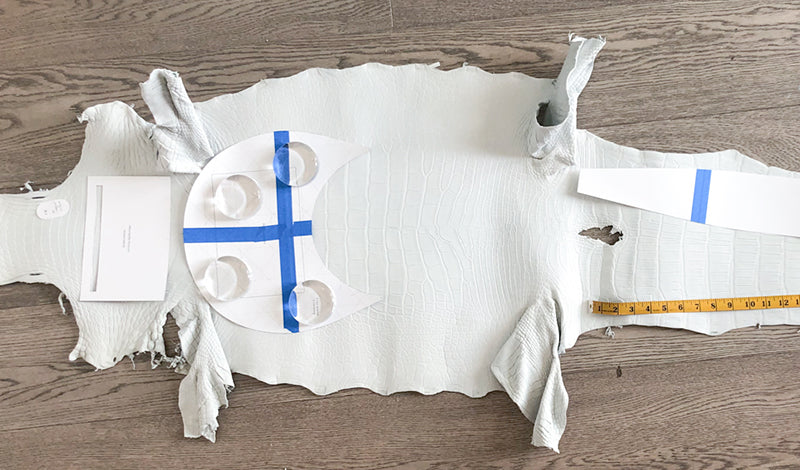
I've cut and skived all of the pieces for my alligator leather bag. Now it's time to dye it. If you saw in my last post, I'm coloring it to look like a beautiful sunset and I want to dye each scale individually so it ends up looking kind of like a mosaic.
I'm starting with the yellow, pinks, reds and fuchsias. They're lighter, so I figure I can layer darker colors over them, like watercolor. This is a water based dye and I haven't played around with it much, so fingers crossed it works the way I think it will.

So far so good. I really like it! I had these colors as lighter in the original inspiration drawing. However, now that I'm actually dyeing them, I'm really digging them being more bold and vibrant.

I'm trying to match the front and back color schemes, so if you spin it around, it looks like the light source is in the same place. This is more of a challenge than I expected because the scales are different sizes on the two panels. And, I keep having to think in reverse. It's kind of a fun puzzle, though.
One of the things I'm really happy with is all of the visible brush strokes and pools of color. It looks very painterly, which is kind of an extra layer of visual coolness I hadn't expected. According to the directions for the leather dye, you're only supposed to put down two coats of dye because the leather can only absorb so much. But I've been pushing that to see what will happen. Some of these scales have four or five layers of dye. That's part of what's making these neat pools of color.

And here are all of the pieces fully dyed. It took three whole days, and I was up til 3:00 am last night working on it but it was worth it. This is what I saw dry and waiting for me this morning. I love this so much! Ready to build this bag!


Leave a comment
This site is protected by hCaptcha and the hCaptcha Privacy Policy and Terms of Service apply.